Plastic Tunnels for Growing Vegetables
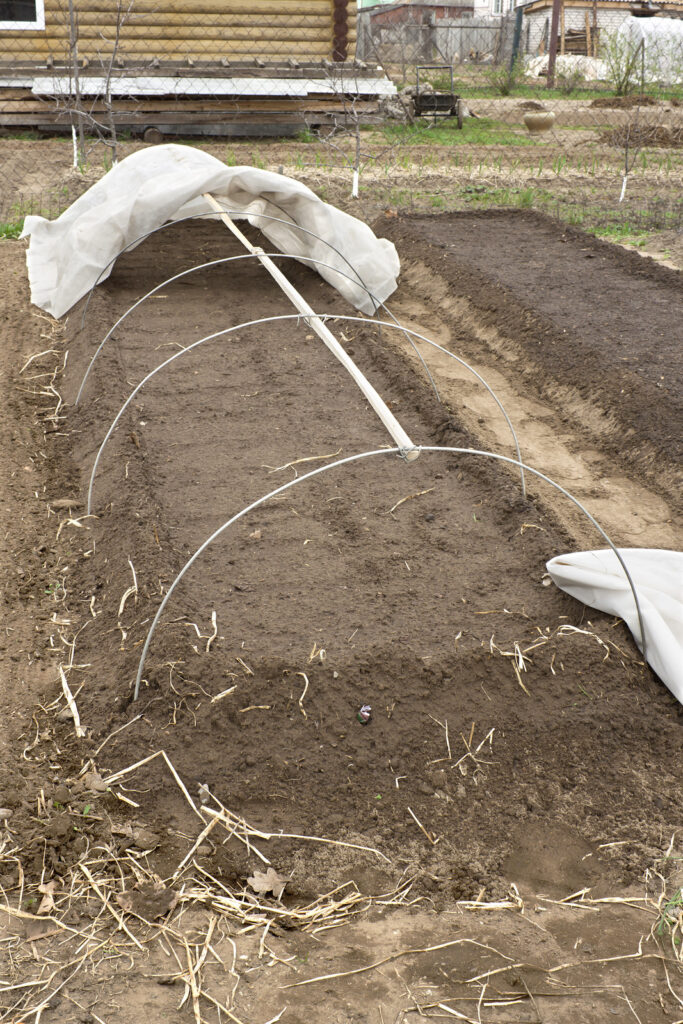
Plastic tunnels can be used to extend the vegetable growing season by 4 to 8 weeks. A plastic tunnel is easily made by draping plastic sheeting over a series of sturdy wire or plastic hoops to create an enclosed growing space.
A plastic tunnel works much like a cold frame. The temperature inside a clear or opaque plastic tunnel can be heated by the sun 5, 10, or even 20 degrees F (2.8-12 degrees C) warmer than the outdoor temperature during the day. The residual solar heat inside a plastic tunnel can keep plants 2 to 7 degrees (1.1-3.9 degrees C) warmer than the outdoor temperature at night.
Visit the Winter Garden and Season Extension Learning Hub
Good Products for Season Extension at Amazon:
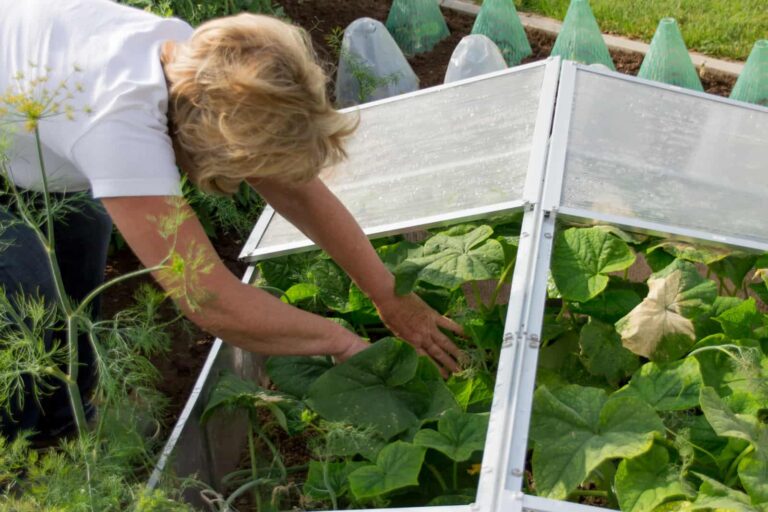
A plastic tunnel can be portable–as small as 3 to 6 feet (.9-1.8m) long, 3 feet wide, and a couple of feet tall, just large enough to grow salad greens–or nearly permanent, 25 feet (7.6m) long or more and tall enough to walk in. A large walk-in plastic tunnel for growing tall crops such as Brussels sprouts or tomatoes is called a hoop house.

Plastic tunnels in the home garden
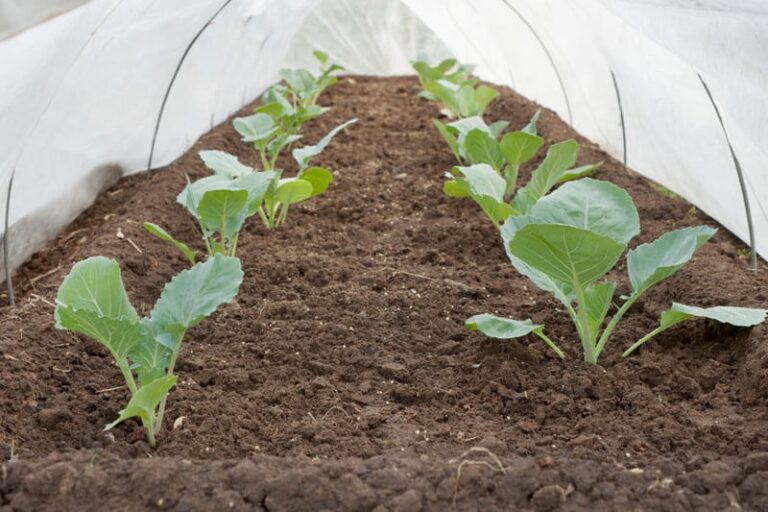
The average home garden plastic tunnel can be used to grow cool-weather crops from autumn into winter and from winter into spring. An 18 to 24-inch (45-60cm) tall plastic tunnel will accommodate lettuce, spinach, and other salad greens. A 24 to 36-inch (60-91cm) tall plastic tunnel can be used to grow broccoli, Brussels sprouts, and cabbage.
How to make a plastic tunnel
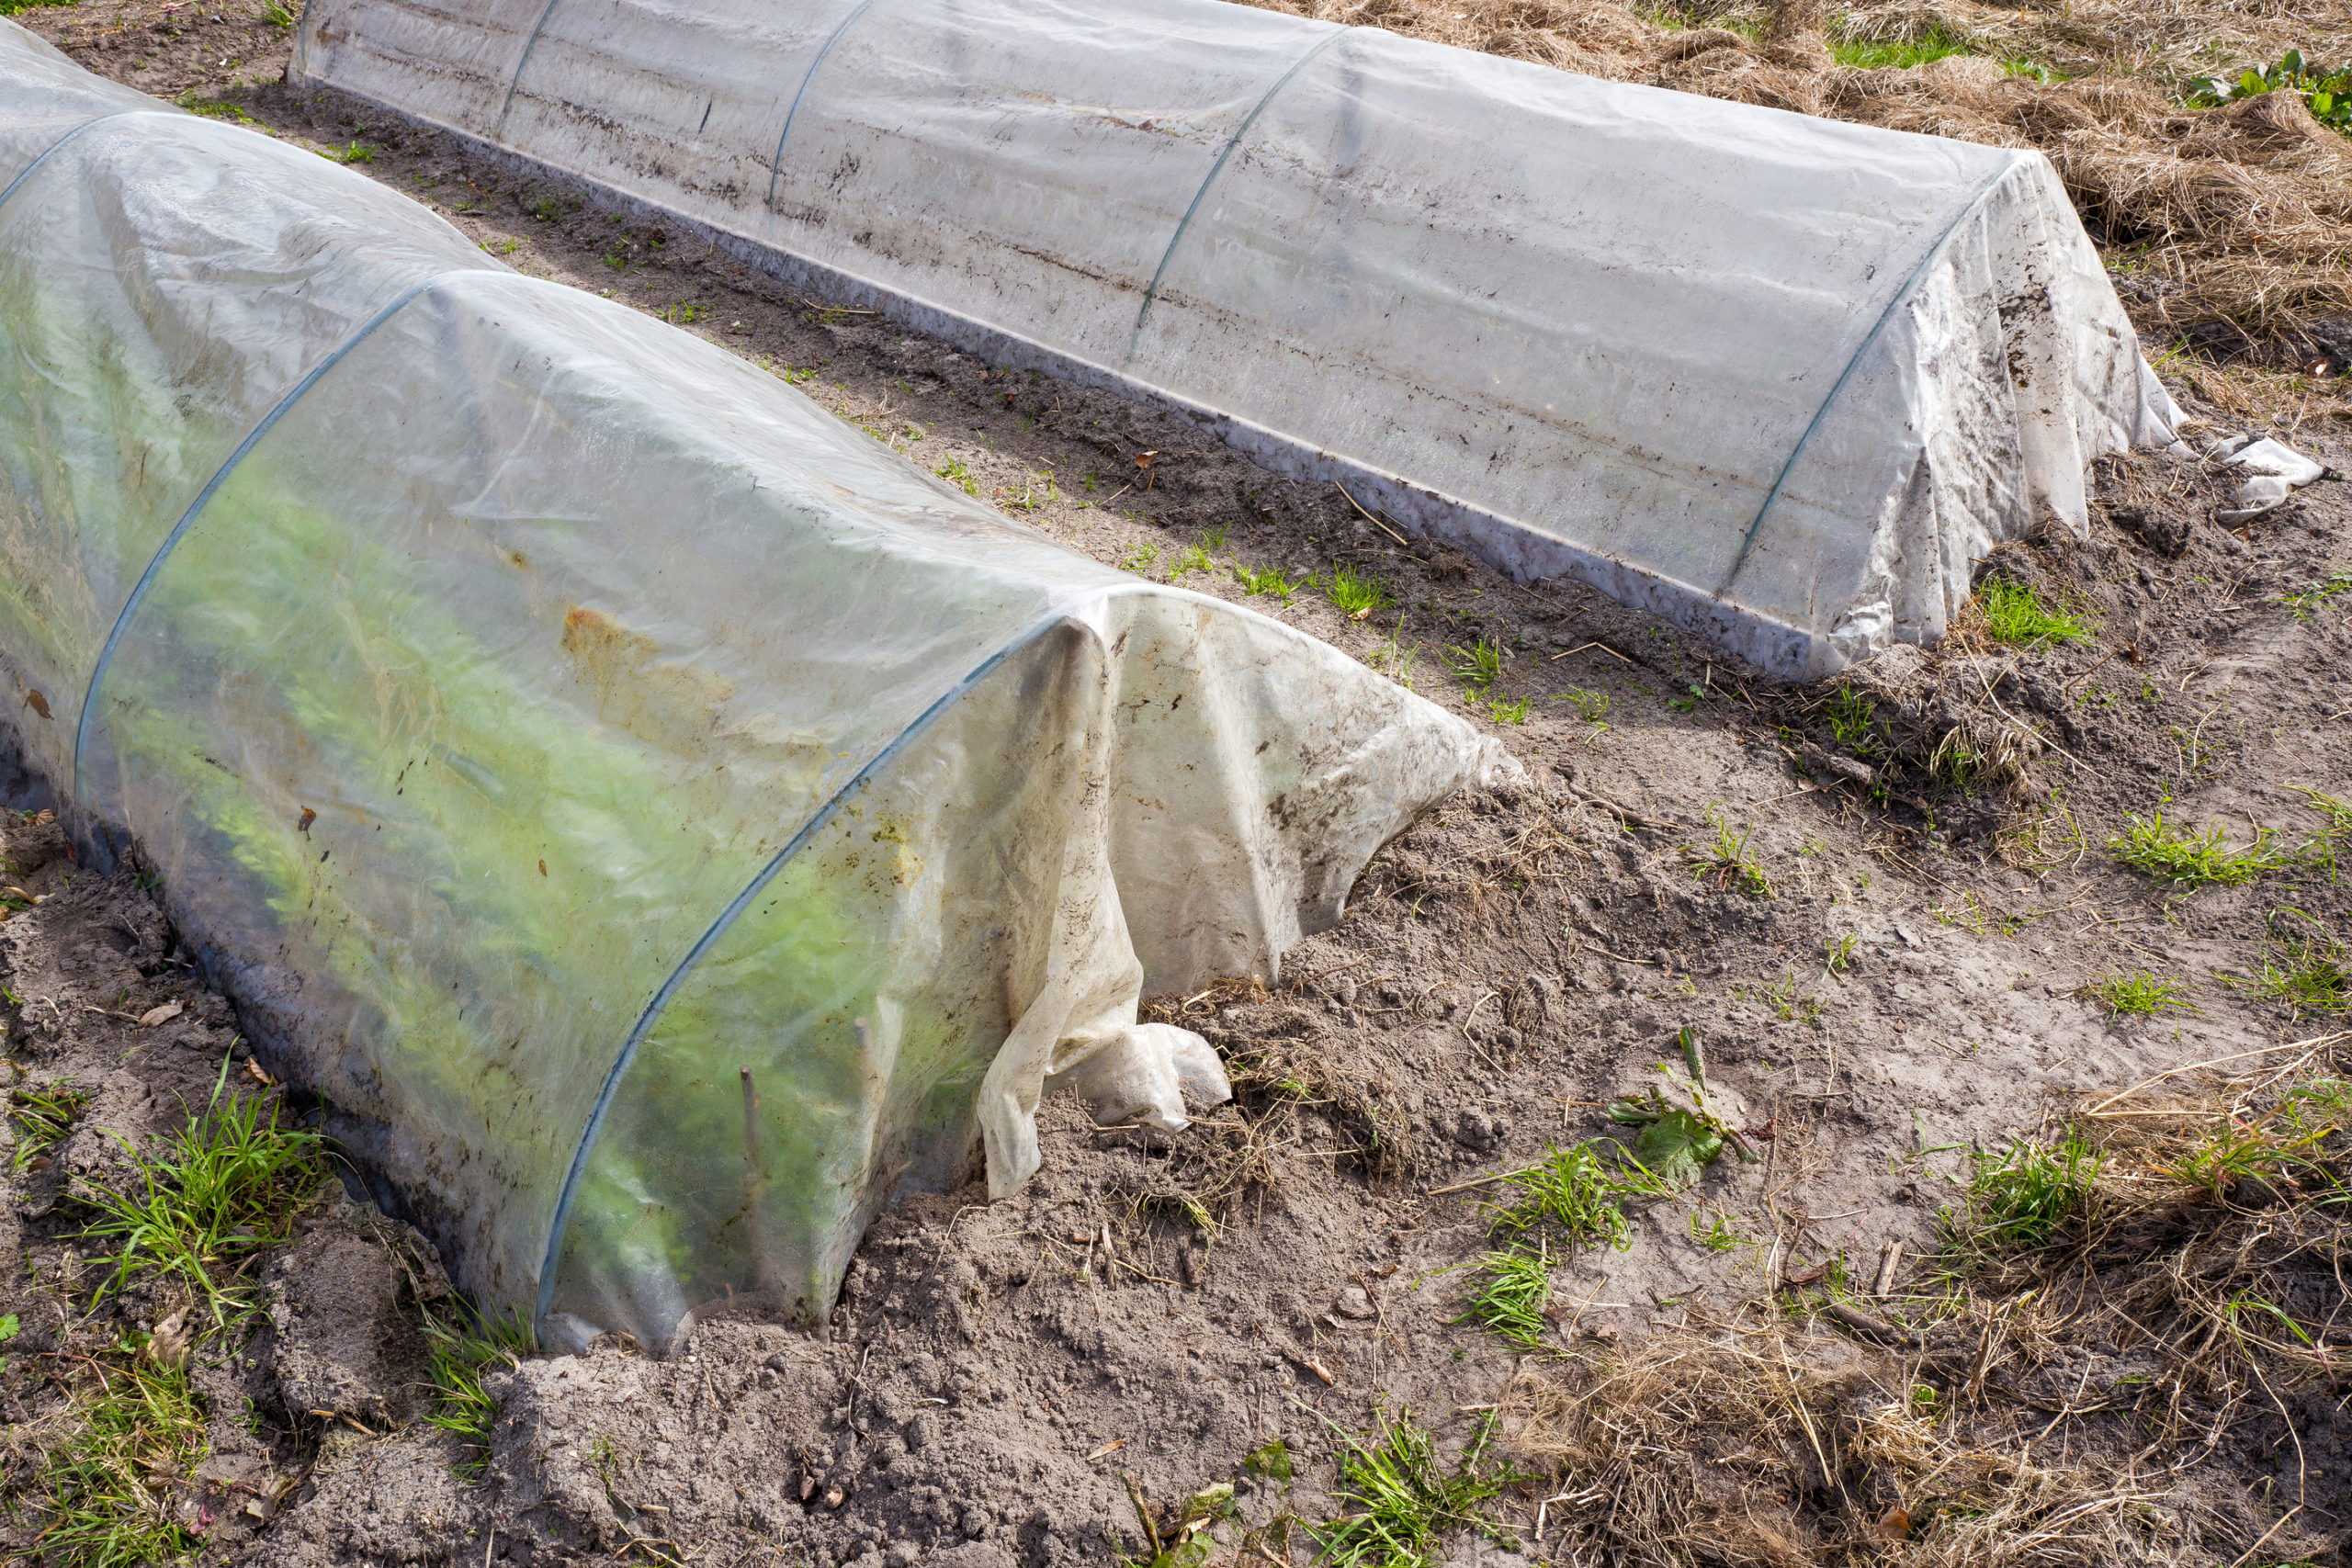
Hoops for a small plastic tunnel can be made from sturdy #8 or #9 gauge wire or 5/8-inch diameter plastic tubing. The wire or tubing is arched over the growing bed and covered with 2 to 6-mil polyethylene or copolymer sheeting to form an enclosed tunnel. (Plastic sheeting is readily available at hardware or home improvement stores; 1 mil equals 1/1000 of an inch. Sheeting with an ultraviolet light inhibitor is best.) Space the hoops every 2 to 2½ feet (60-76cm) apart and arch them across the bed, 3 to 3 ½ feet (91-106cm) wide. To make a taller tunnel set the 5/8-inch plastic hoops into rigid 1-inch diameter PVC pipe driven into the ground.
The arched hoops can be secured to a foundation or wooden raised bed frame with brackets or thrust 6 to 12 inches (15-30cm) or more into the ground. Hold the plastic sheeting to the arches with spring-loaded clamps similar to clothespins. The sheeting around the bottom edges and closed ends of the tunnel can be held in place with soil, wooden planks, bricks, or stones. It is important that the sheeting not be permanently secured; plastic tunnels require venting during the day when the outside temperature rises to 60°F (15.6°C) or greater and the inside temperature reaches 80°F (26°C) or more. (Plastic tunnels require the same venting as cold frames to ensure plants do not become overheated.)
Plastic tunnel ventilation
Fresh air must be allowed to enter the plastic tunnel. And when temperatures are warm, it’s important to let heat escape. To allow for venting, the clamps that hold the plastic in place can be removed to pull back the plastic along the edges or the tunnel ends can be left open. Alternatively, slitted plastic sheeting can be used to cover the hoops and a second sheet of unslitted plastic can be placed on top of the first layer when the temperature falls below freezing. A double layer of plastic sheeting–like a double glass sash on a cold frame–will trap air between layers for added insulation. Double-thickness plastic will add 2 to 4 degrees (1.1-2.2 degrees C) or more for greater protection against frost and freezing temperatures.
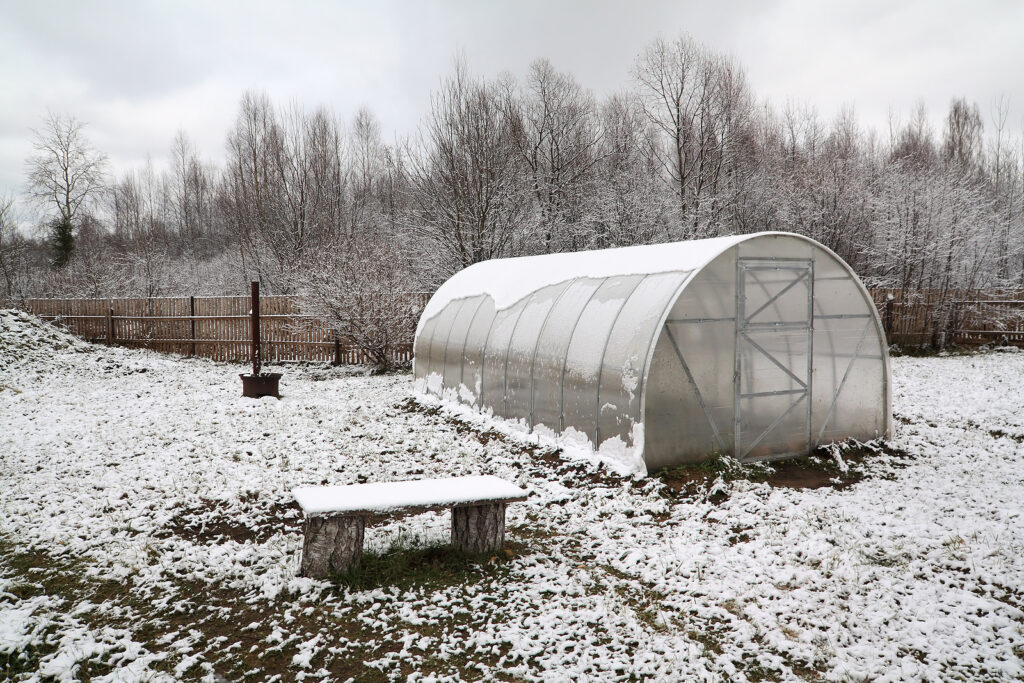
Snow-resistant plastic tunnel
To make a plastic tunnel that can withstand snow, use metal or plastic tubing 1 ¼ inches in diameter or greater and sheeting that is 8 mil thick. Horizontal lengths of PVC tubing also can be added to the frame at the peak and halfway down along the sides to strengthen the frame. The horizontal pieces can be fastened with duct tape or plastic zip ties. PVC tubing is commonly sold in 10 or 20-foot (3-6m) lengths.
Similar to the arched plastic tunnel, rigid PVC pipe ½-inch (1.25cm) in diameter or greater can be cut into three parts and a box-like frame can be assembled using PVC elbows. The sides of the frame can be inserted into slightly larger PVC pipes driven into the ground 12 inches (30cm) or more. Like a cold frame, a flat-topped plastic tunnel should have one side taller than the other to allow for the runoff of rain and to keep snow from accumulating and weighing down the top of the frame.
Where to place a plastic tunnel
Small plastic tunnels can be constructed over planting beds. They can be portable or deconstructed when not needed. Larger plastic tunnels will likely be more permanent.
Like a cold frame, a plastic tunnel that will remain in the garden throughout the year should be placed away from prevailing winds and away from cold or damp spots in the garden. Growing plants inside a plastic tunnel is no different than growing plants in a cold frame; the soil or growing medium should be kept just moist, not wet, and beds should be weeded and tended just as you would in the open garden.
Plastic tunnels in summer
When the weather turns warm, the plastic tunnel can be lifted off of the growing bed, and disassembled, or the plastic sheeting can be removed and replaced with bird netting which creates a growing bed protected from birds, rabbits, and deer during the warm part of the year.
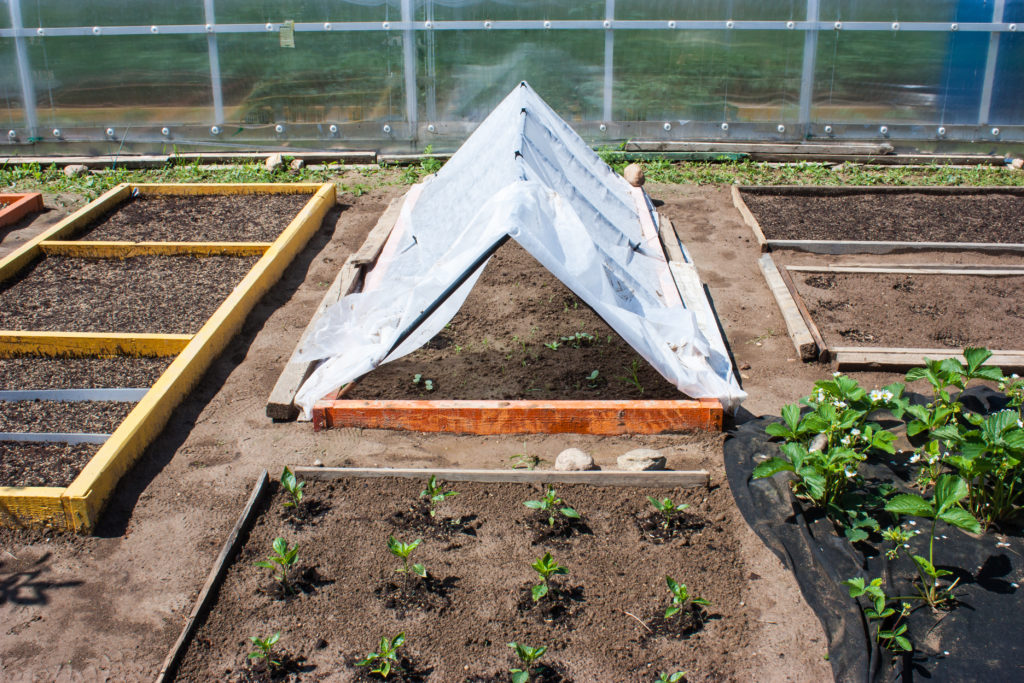
Plastic tents
A simple alternative to a plastic tunnel is a plastic tent. You can make a peaked plastic tent by placing plastic sheeting over a simple wooden or metal trellis frame like the kind you would use to grow pole beans up garden twine or wires. Place the sheeting over the frame and secure the sides with soil or boards.
More tips to extend the season:
Floating Row Covers Plant Protection
Garden Planning Books at Amazon: