To get a bumper crop from your pepper plants, you must dedicate yourself to helping the plants thrive. Pepper plants are more temperamental than tomatoes—they demand warm temperatures, even soil moisture, feeding, and support—literally.
Here are 10 steps that will all but guarantee sweet and hot pepper growing success. (But don’t turn your back on peppers for more than a day or two, things can go wrong quickly.)
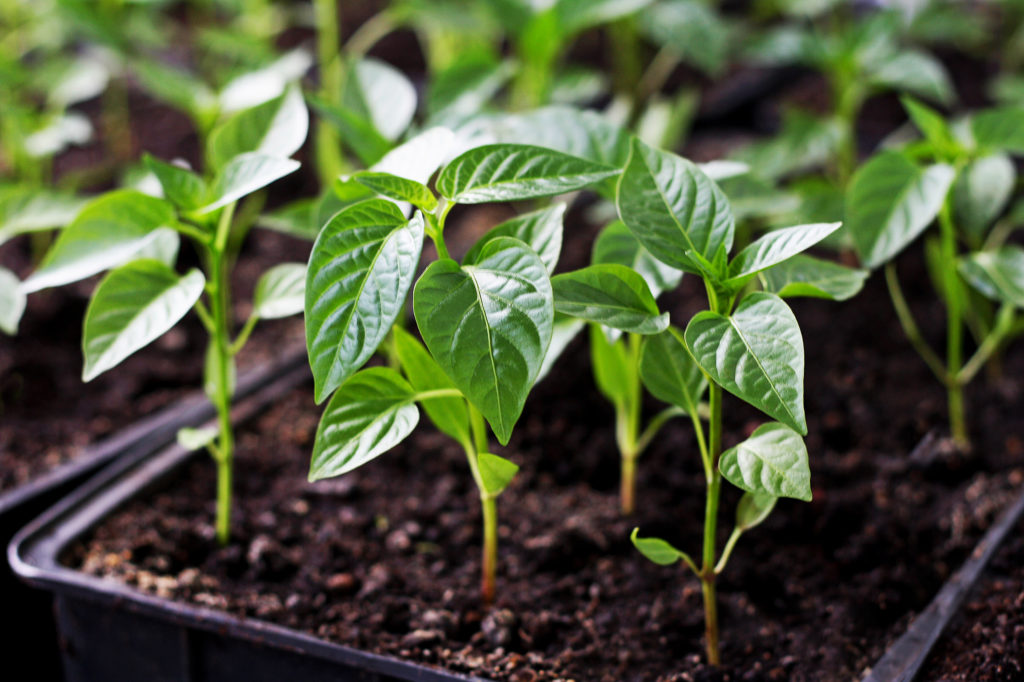
Step 1: Start peppers from seed early in spring
Start pepper seeds indoors 8 to 10 weeks before the last spring frost. (If you are not sure when the date of the average last frost is in your area, ask at a nearby garden center.) Sow three to four pepper seeds per pot then make sure the seeds stay warm; place your seed-starting containers on a seed heating mat or on top of the refrigerator. Make sure the indoor temperature averages 70°F/21°C during the day and 65°F at night. When seedlings have grown two sets of true leaves; cut the weakest seedlings off at soil level with a pair of garden scissors leaving one strong seedling per pot. Don’t plan to transplant peppers into the garden until two weeks after the last frost.
Good Products for Seed Starting Success at Amazon:
- Jump Start Germination Station w/Heat Mat Tray, 72-Cell Pack, Dome
- Espoma Seed Starting Mix
- 200 Count- Jiffy 7 Peat Soil Seed Starting Plugs
- Seed Starter Kit with Humidity Dome (120 Cells Total Tray)
- AgrobriteT5 Fluorescent, 2-Foot, Grow Light System
Step 2: Give peppers rich garden soil
Peppers want organically rich, well-drained soil. Add plenty of aged compost to the planting bed in advance of planting. If you have clay or sandy soil, turn the compost under with the turn of a shovel. If rain or irrigation water sits for more than an hour on the surface of your garden, your soil is not well-draining, and it will be better to plant your peppers in a raised bed. At transplanting time, add a shovelful of compost to the planting hole; you can also boost phosphorus in the soil (which is important for fruit formation) by adding a handful of bone meal to the hole as well.
Step 3: Warm the soil and prepare peppers for the outdoors
Peppers are highly susceptible to transplant shock. Two weeks before transplanting peppers into the garden, cover planting beds with black plastic to pre-warm the soil. One week before setting transplants into the garden begin to harden them off; set the plants outside in a warm, sheltered place for one, then two, then three, and more hours each day in the week before transplanting. Bring them indoors at night. This will give peppers a chance to prepare for their life outdoors.
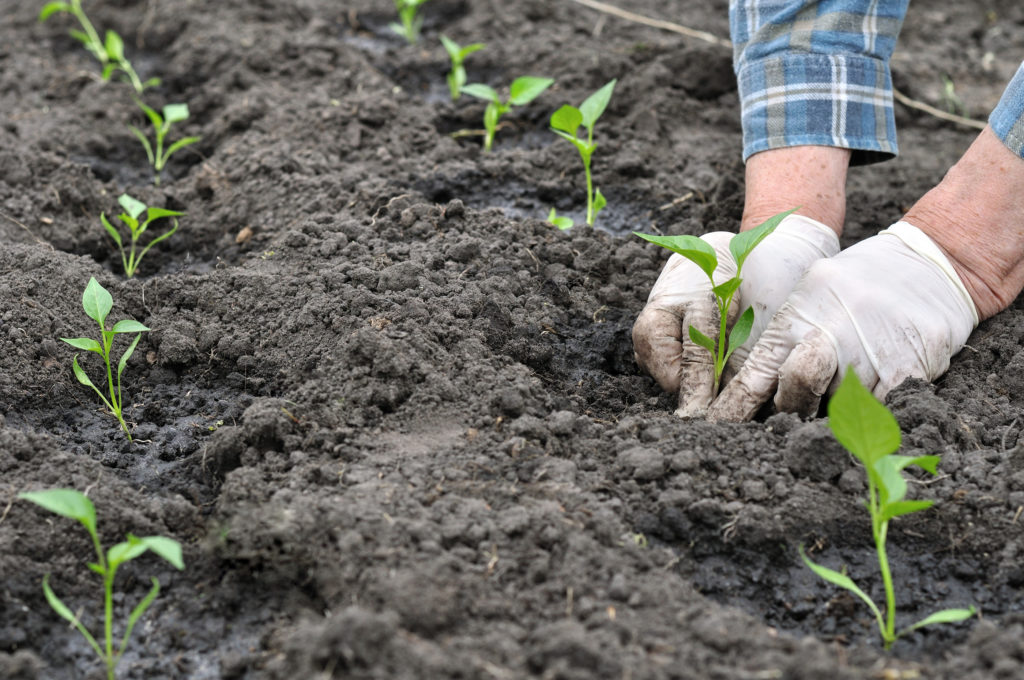
Step 4: Transplant peppers when the weather is warm
Transplant peppers into the garden only after the soil has warmed to 65°F or warmer. Pepper plants transplanted to the garden before the soil has sufficiently warmed will not grow well; they will never do as well as transplants set in the garden after the soil temperature has warmed to at least 65°F. As a general rule, transplant peppers into the garden two weeks after it’s safe to set tomatoes in the garden. Set transplants at the top of their root ball; do not bury the stem of peppers as you might a tomato plant; peppers can’t form roots along the stem-like tomatoes.
Step 5: Give peppers plenty of sun
Peppers require full sun and warm soil to grow well. Give peppers 8 hours of sun each day. Keep pepper plants sheltered from prevailing breezes.
Step 6: Give peppers moist soil
Keep the soil evenly moist as peppers grow for the best yield. Do not let the soil dry more than an inch below the surface; peppers are shallow-rooted and cannot tap moisture reserves deep in the soil. Maintain even water from flowering until harvest. You can intensify flavor, by reducing—but not stopping—watering a week or two before harvest.
Step 7: Feed peppers
Pepper plants will almost always benefit from extra nutrients. Add a fish meal to the soil at planting time (follow the instructions on the box). Side-dress peppers with aged compost or a time-release organic fertilizer (5-10-10) when the plant sets flowers—side-dress means spreading aged compost or fertilizer around the base of the plants and watering it in. When fruits form, drench the soil with fish emulsion or kelp meal every 3 to 4 weeks.
Good Products for Growing Peppers at Amazon:
- Espoma Garden Tone 3-4-4 Fertilizer
- Epsom Salt Plus Plant Nutrients Magriculture
- Tomato Grower’s Answer Book
- Neem Bliss 100-% Cold Pressed Neem Oil
- Safer Brand Insect Killing Soap
- Monterey BT Caterpillar Killer
- Southern Ag Liquid Copper Fungicide
- Harris Diatomaceous Earth with Duster
- Natures Good Guys Beneficial Nematodes
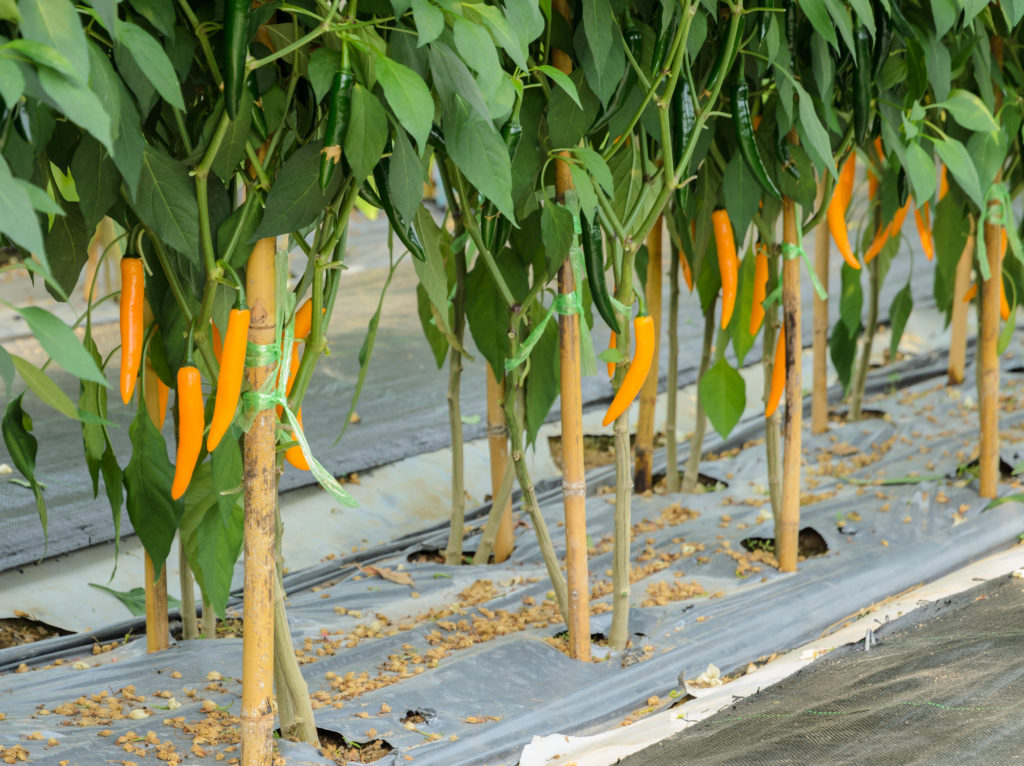
Step 8: Support peppers
Pepper plants greatly benefit from support. Pepper plant branches can be brittle, unlike tomato plant branches. Branches can snap when the fruit grows too heavy, so support the plant; use cages or stakes or string corrals. Put cages, stakes, and other supports in place at transplant time; don’t wait until the plant begins to lean sideways with fruit.
Step 9: Protect peppers from chilly weather
If the weather turns cool once peppers are in the garden, you must protect them. If nighttime temperatures dip below 60°F/15°C, protect pepper plants with medium-weight row covers or plant blankets. Be sure to remove covers when temperatures rise; temperatures higher than 90°F/32°C can cause blossoms to drop and fruit to sunburn.
Step 10: Harvest peppers at the right time
To increase the yield, pick peppers just before they are ripe—just before they turn their final color; this will allow the plant to redirect nutrients and energy to new flower buds and smaller fruits still on the plant allowing them to mature. Pick sweet peppers before they fully change color and let the change color indoors. Let hot peppers ripen to full color on the plant.
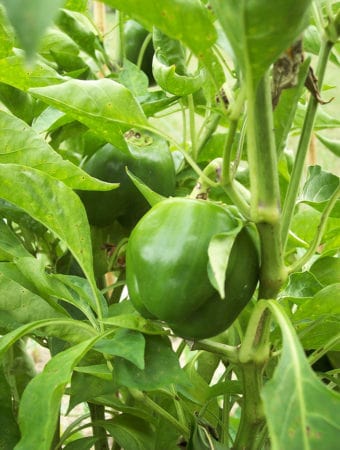
Sweet bell peppers produce green fruit in 50 to 60 days from transplanting; they will be ripe and colorful—red, orange, yellow, purple, or chocolate brown—about 80 days from transplanting. Some hot peppers such as Habanero require 100 days to produce ripe fruit. Hot peppers like sweet peppers ripen to a specific color—check the seed packet or plant label for the color the pepper is supposed to be when it is ripe.
Also of interest:
How to Plant, Grow, and Harvest Sweet Peppers
How to Plant, Grow, and Harvest Hot Peppers
Garden Planning Books at Amazon:
- Tomato Grower’s Answer Book
- Vegetable Garden Almanac & Planner
- Kitchen Garden Grower’s Guide Vegetable Encyclopedia
- Vegetable Garden Grower’s Guide