 Truly flavorful roast chicken is in the seasoning—seasoning that is allowed to infuse the meat for at least 3 and even better 8-, 24-, or 48- hours before cooking. Here, I give you several options for seasoning a chicken before roasting—that means you can come back to roast chicken over and over, changing up the flavor each time.
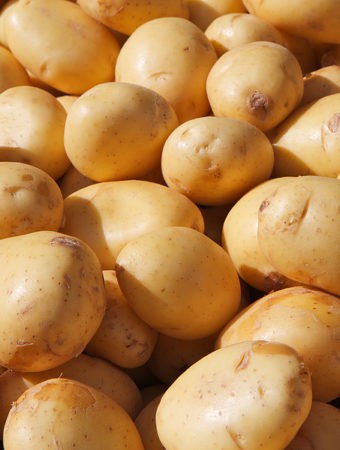
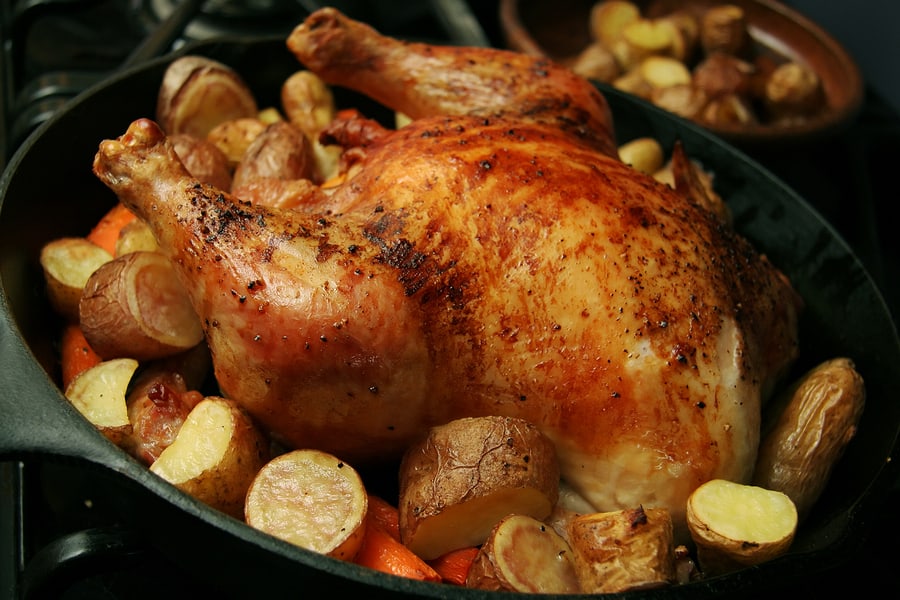
Lemon zest, orange halves and juice, garlic, rosemary or thyme, and simply salt are seasonings that will make for delicious roast chicken (choose one or a flavor match, if you like). Set vegetables under the bird—potatoes, carrots, and celery are good choices–and you can prepare a whole meal in one pot.
A roasting chicken—also called a roaster—can be either a young cockerel (rooster) or hen, about 12 weeks old. Always choose an organic free-range chicken if available; these birds are raised on organic grain without antibiotics or hormones and are allowed to move about unimpeded (not shoulder-to-shoulder in a cage)—all of which means they will be stress free, and, yes, that means tastier.
Chicken is rich in protein and all the essential amino acids you need—and also B group vitamins and iron, and copper and selenium.
My recipe will require just over an hour of prep time and cooking; add to that, the time you allow for seasoning and infusing flavor prior to cooking.
Oh, and the rule of thumb for roasting a chicken is: 20 minutes up (breast side up), 20 minutes down, plus 10-20 minutes up again.
Succulent Roast Chicken
Yield 6-8 servings
Ingredients
- 1 (4 to 5 pound) roasting chicken
- 1 tablespoon coarse or kosher salt
Seasoning options (choose one of these to go with the salt above):
- Freshly ground black pepper
- 2 medium Meyer or regular Eureka lemons
- 3-4 fresh sprigs of thyme, savory, or rosemary, or 2 bay leaves (or a combination of these)
- 2 cloves of garlic, sliced
- 4 oranges cut in halves and juice
- 1½ tablespoons olive oil, divided or 3 tablespoons of butter
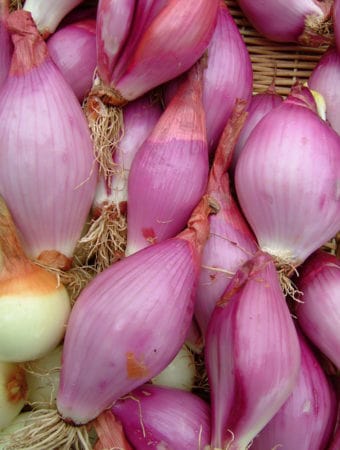
- 1 pound shallots
For sauce:
- ½- to ¾-cup reduced-sodium chicken broth
- ⅓-cup dry white wine (optional)
Instructions
- Rinse the chicken under cool water then pat it dry with a damp cloth inside and out.
- Choose your flavoring option then proceed to season the interior of the bird; you can rub cavity with a half lemon or a half orange; or you can rub it with a large pat of butter or olive oil then sprinkle lightly with salt and a bit of freshly ground pepper; or you can rub it with garlic; or you can add herbs to the cavity; or you can do a combine salt with one of these seasonings.
- Next season the exterior of the bird: gently loosen the skin above the breast and thighs and work the seasoning under the skin: for example, combine 1½ teaspoons to1 tablespoon salt with lemon zest or orange halves or peeled garlic or butter or olive oil, or sprigs of herbs such as rosemary or thyme. (Choose from the many seasoning variations.) Rub all sides of the bird with the remaining salt or herbs or citrus. Then cover the bird with wax paper or foil and place it in the refrigerator. (If you are marinating the bird—with orange juice, for example–you will want to immerse the bird in the juice for several minutes before refrigerating.)
- Keep chicken refrigerated for at least 3 hours allowing the seasoning to infuse the meat with flavor—better is 8 to 48 hours. The longer the wait before cooking, the more flavor will be infused into the meat. This process is guaranteed to make the meat more tender, juicy, and tasty.
- Take the chicken out of the refrigerator at least one hour before cooking; this will allow the bird to reach room temperature and insure even cooking.
- Preheat oven to 400°F.
- Roast the chicken in an ovenproof dish or pan that is very close to the size of the chicken—not much larger; keeping the chicken closely confined in the pan will prevent juices that gather during roasting from burning or smoking. Lightly oil the dish or pan before placing the bird in. Set the bird in the dish breast side up; tuck the wings underneath the bird to keep them from burning while roasting. You can set a V-shaped rack under the bird, if you like, or if you are roasting the chicken with vegetables, place the vegetables underneath the bird; for example, use halved or whole new potatoes or 1½- to 2-inch chunks of carrots or chopped celery or scallion.
- Roast the chicken for 20 minutes breast side up, then turn it breast side down. Baste the chicken with the fat and juices in the pan, and then roast another 20 minutes. (Turning the bird will help it to cook evenly and allow the skin to brown and become crisp all over.) At the end of the second 20 minutes, turn the chicken breast side up again, baste once more, and roast until done–another 10 to 20 minutes, until the juice runs pink.
- Roasting a 4 pound chicken should take about one hour—perhaps several minutes more; roast until the skin on the legs is brown and crispy and starts to separate from the meat—when the bird is cooked the meat on the legs and thighs should no longer be pink; however, the breast will still be juicy and tender. Don’t hesitate to slice into the meat to see how it’s cooking. If you are roasting vegetables with the chicken, be sure to remove them from the roasting pan as soon as they are cooked tender and are easily pierced with a sharp knife; set them aside if the bird needs to cook longer.
- When the chicken is cooked, tip the bird so that the juices from the cavity pour into the roasting pan—to avoid a messy transfer. Transfer the chicken to a carving board or warm platter and let it rest and finish cooking covered with foil for at least 10 to 15 minutes before carving. Resting before carving, will allow the juices to settle and leave the chicken succulent.
Notes
You can use the fat and juices left in the pan to make sauce or gravy: pour the pan drippings into a measuring cup, skim away all but about 1 tablespoon of fat then place the drippings in a blender, add ½ cup chicken broth and ⅓ cup dry white wine (optional) and pulse until smooth. Place the mix with scrapings of brown bits from the roasting pan in a saucepan over medium-high heat and cook stirring until the sauce turns nutty brown colored. Spoon the sauce over the carved chicken meat.
Courses Main Course